Design Tips for Lost-Wax Casting - What You Need to Know Before You Start
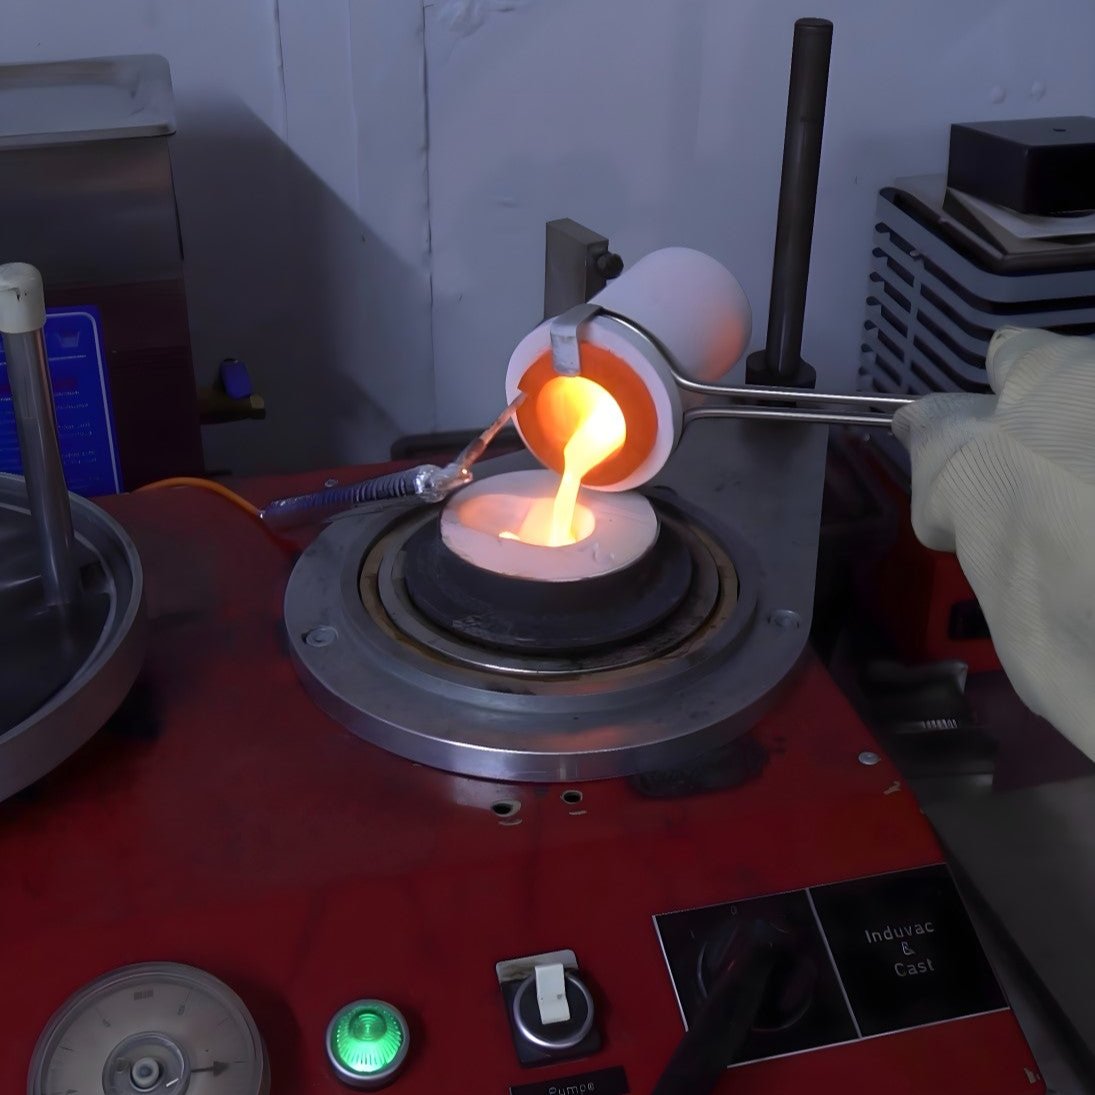
Lost-wax casting is one of the oldest and most precise methods for producing metal jewelry. A wax model is embedded in investment plaster, the wax is burned out, and the resulting cavity is filled with molten metal. Simple in theory - but the success of the final piece is largely decided at the design stage. Here are the most important rules to keep in mind from the very beginning.
Wall thickness: not too thin, not too heavy
The most common beginner mistake is designing structures that are too delicate. Fine bridges or tapered tips won't fill completely with metal - they crack or come out porous.
Minimum wall thickness guidelines:
- Silver & bronze: min. 0.8 mm
- Gold: min. 0.6 mm
- Bridges & connectors: min. 1.0 - 1.2 mm
At the same time, avoid unnecessary bulk. Overly thick sections cool unevenly and create shrinkage voids inside the metal. Aim for consistent wall thickness throughout your design.
Undercuts - yes or no?
Because the investment mold is destroyed after casting, undercuts are generally possible in lost-wax casting. That said, deep or tight undercuts make investing the model more difficult and can cause cracks in the mold during burnout. Keep undercuts shallow and open where possible.
Sprue placement - where the metal enters
The sprue is the channel through which molten metal flows into your model. Poor sprue placement means a poor casting. Keep these points in mind:
- Attach the sprue at the thickest point of the piece, so metal flows from there into finer areas - not the other way around.
- Complex forms benefit from multiple sprues rather than one.
- The sprue will need to be removed later - place it where clean-up will be straightforward.
CAD design: what to watch out for
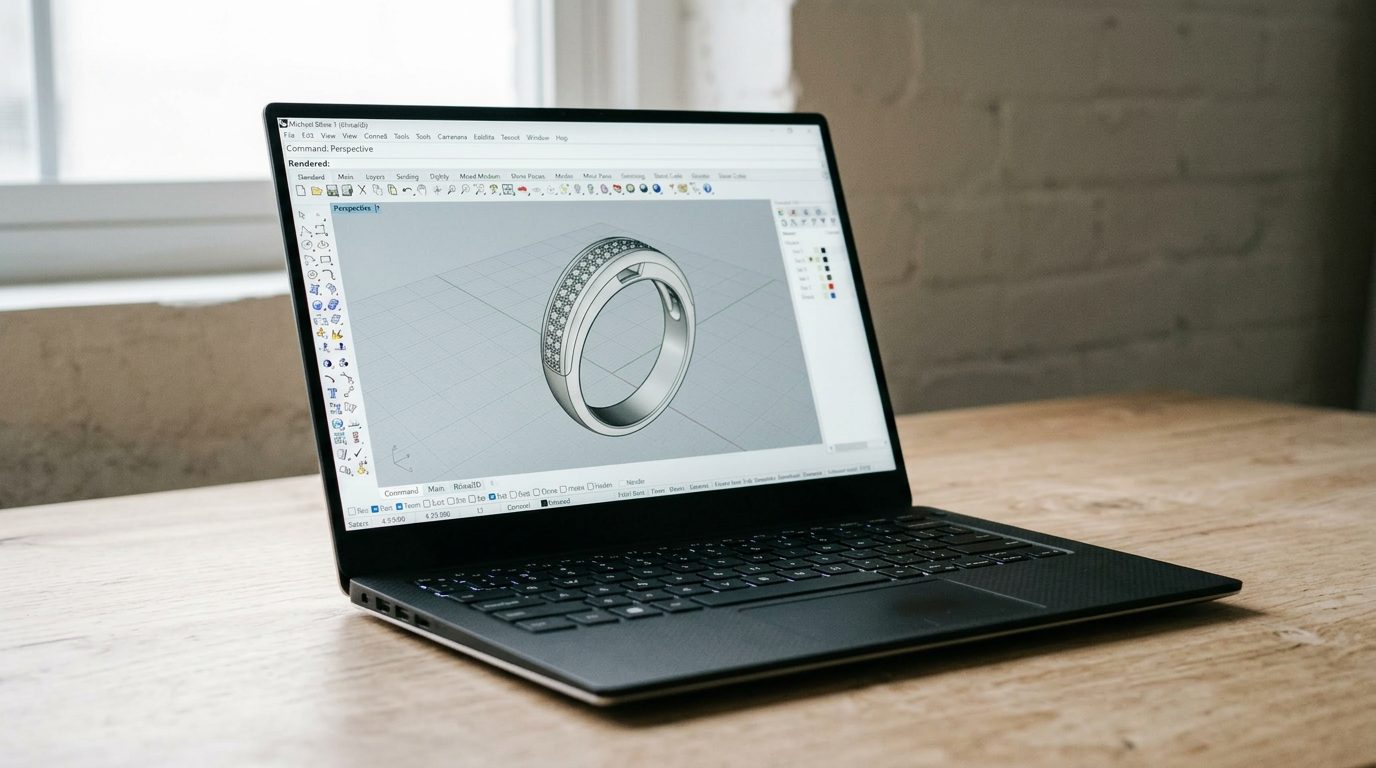
Many designers today use software like Rhino, ZBrush or Fusion 360 to build their models digitally. A few key points for casting:
- Watertight mesh: your 3D model must be a closed, error-free volume - no open surfaces, no overlapping geometry.
- Minimum wall thicknesses apply digitally too - most CAD software won't warn you automatically.
- Always export as .STL and run the file through a mesh checker (e.g. Netfabb or Meshmixer) before sending it to the foundry.
Surface quality & finishing - plan ahead
The smoother your wax model, the less clean-up you'll have after casting. Scratches and tool marks transfer directly into metal. Leave a little extra material for polishing - grinding and buffing remove metal. Engravings and textures should be cut deeper than you think, so they survive the finishing process.
Final thought
Good lost-wax casting design thinks the whole process through - from wax model to finished piece. Consistent wall thickness, well-placed sprues, clean CAD geometry and realistic expectations around finishing are the foundation. Get these right from the start and you'll save yourself a lot of time and frustration at the bench.
Questions about your jewelry project?
Get in touch - we're happy to help.
Nikolas Maier · +49 173 1606010 · [email protected]